Updated November 2017
When it comes to building a fence, it is important to have install fence posts to ensure the most stable wooden fence possible. Installing fence posts is a critical component that’s responsible for keeping your enclosure upright and straight. Installing a fence post can be tricky business but with right knowledge and tools, you can get the job done.
To start with, make sure you buy the right kind of wooden posts. It is recommended you stick with pressure treated wood that is rated for ground contact. Also be sure to check the posts for straightness – obviously the straighter, the better and be sure you acquire posts that are long enough to bury a good part of them in the ground. The proper wood will minimize rot so be sure to ask a lumber professional for advice.
Installing fence posts: Measure twice, dig once
Next, make sure you measure out the distance between each post and mark the approximate location of each post. Typical spacing is right around 8 feet between each post however different circumstances may call for different measurements and it is not uncommon to have spacing between posts reach up to 10 feet. Once you have a rough idea of your post layout start by digging your first hole.
Digging fence post holes is backbreaking work so make sure you have the right tool to make it easier. A basic post hole digger (clam shell digger) should make things much easier for you and a pry bar can help when you encounter large rocks that need to be knocked loose. If you have access to one, you can also use a power auger and you can check with your local hardware store to see if they rent them. Dig the hole to be a little bit bigger than the fence post. If you are going to surround the post in concrete or gravel leave a little extra room to fill it in. Concrete usually requires a larger hole roughly 12 inches wide for a 4×4 post while gravel can be roughly 8 inches wide for a 4×4 post.
Next, take your fence post and stick it in the hole. Make sure it is the right height and adjust accordingly by continuing to dig or filling in the hole. For a sturdy post you should try and make your hole at least 2 feet deep. Once you get the height correct, it is time line your post up properly to install fence posts on your wooden fence.
Install fence posts in a straight line
 Setting fence posts correctly is pretty easy as long as you line up your post correctly and have a few extra pieces of wood and a level. Use the level to make sure your post is straight (plumb) and take the pieces of wood and lightly nail them to the post and push them into the ground to act as a temporary holder. Make sure to leave some of the nail head sticking up as we will be removing these boards once the post has been set. Here is a nice visual image of how this is done courtesy of how stuff works.
Once you get your first post lined up and secure you can move onto the next hole. Waiting until after your first post is installed to dig the next hole will help you ensure you get the spacing right. We also suggest waiting until all your posts are temporarily set before you pour any concrete or dirt back in the hole. This way you can ensure everything is lined up correctly and minimize your mess to just one day if you are pouring concrete.
The next step in how to install fence posts for a wooden fence is to line up your next post. There is a nice trick that involves using a piece of string and running it from the first post to the next. You can also use this trick to help you line up your holes. Finish digging your holes and repeat the steps above to ensure each post is plumb, etc.
Setting fence posts by backfilling with gravel, cement
Once all posts are temporarily set you can proceed to mix any concrete you are going to use or backfill in the holes with dirt or gravel. When it comes to concrete there are several different options you can choose from. For a very sturdy fence you can pour concrete in every hole. This is also recommended for areas with soft or wet soil as it will help slow down the rate of post rot. Another approach is to use concrete on every other post and each corner post. This will also offer a sturdy option however is not as sturdy as using concrete on every fence post. Finally, you can opt to strictly fill the holes with just dirt or a mix of dirt and gravel. This option will offer the weakest fence posts and your fence will most likely not last as long. Furthermore, you increase the speed that your post will rot but not encasing it in concrete.
A good practice when pouring concrete is to scrape the concrete up against the fence post so it create a sort of cone above the dirt about and inch or two. The idea is to seal off the wood so when water is running around the fence post it will not make contact with the wood and rot it out. Concrete tends to be porous so there will already be a good amount of moisture in contact with the post set in the concrete but this technique aims to reduce the amount of moisture as much as possible.
Once your posts are set allow the concrete to dry and soil to settle before moving on. You can check your work with a level and by making sure your string is setup in straight line. And that’s it, after setting fence posts, you are ready to start laying your boards!
Installing steel fence posts on wooden fence
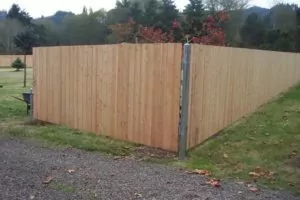
How to install fence posts that are steel is a similar process to installing wooden posts. Steel posts can improve the strength and longevity of a wood fence. Galvanized steel posts for wood fences have a couple of clear benefits because they are stronger than wood ones and will hold up better in strong winds. Steel won’t rot and the zinc coating prevents the metal from rusting. Setting fence posts, whether it be steel or wood, follow a similar installation process.
Should I Hide or Show Steel Posts?
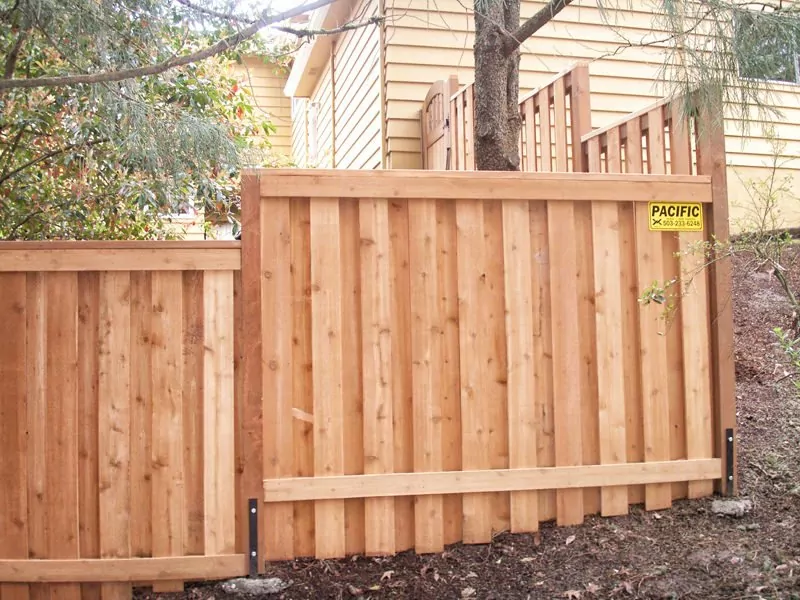
We can design a fence that either shows or hides the posts. Many people like the contrast of metal and wood. A structure that highlights the mix of materials has an industrial-style vibe that is currently in vogue. However, if you want the durability of steel but like the look of wood, we can make the steel posts invisible. We can build your fence either way. Check our gallery to see examples of mixed-media fences.
How Does Metal Compare to Pressure Treated Wood?
Builders often use pressure-treated wood for posts. This type of lumber is treated with pesticides and fungicides. It resists rot and can last for decades. In the past, pressure treated wood contained arsenic. Today’s pressure treated wood no longer contains this poison. However, for those who want to avoid chemicals, steel posts are an alternative. Steel lasts even longer than pressure treated wood. so it’s a popular option for homeowners who are looking to install fence posts for their wood fence.
Are Steel Posts More Expensive than Wood Posts?
Steel posts are available at different prices. Some steel posts, such as the ones used for chain link fences, are less expensive than some types of wood posts. There are also specialty steel posts that are initially more costly than wood.
When comparing costs, remember that steel doesn’t need to be maintained or replaced as often as wood. Also, a stronger post reduces the need for fence repairs after a storm. Speak with one of the specialists at Pacific Fence on how to install fence posts. We’ll help you make the right choice.
Setting fence posts in Portland, OR
From custom orders to prefabricated products, the professionals at Pacific Fence & Wire have seen it all. Contact us today and we’ll work with you to get your project off the ground and completed the way you want.