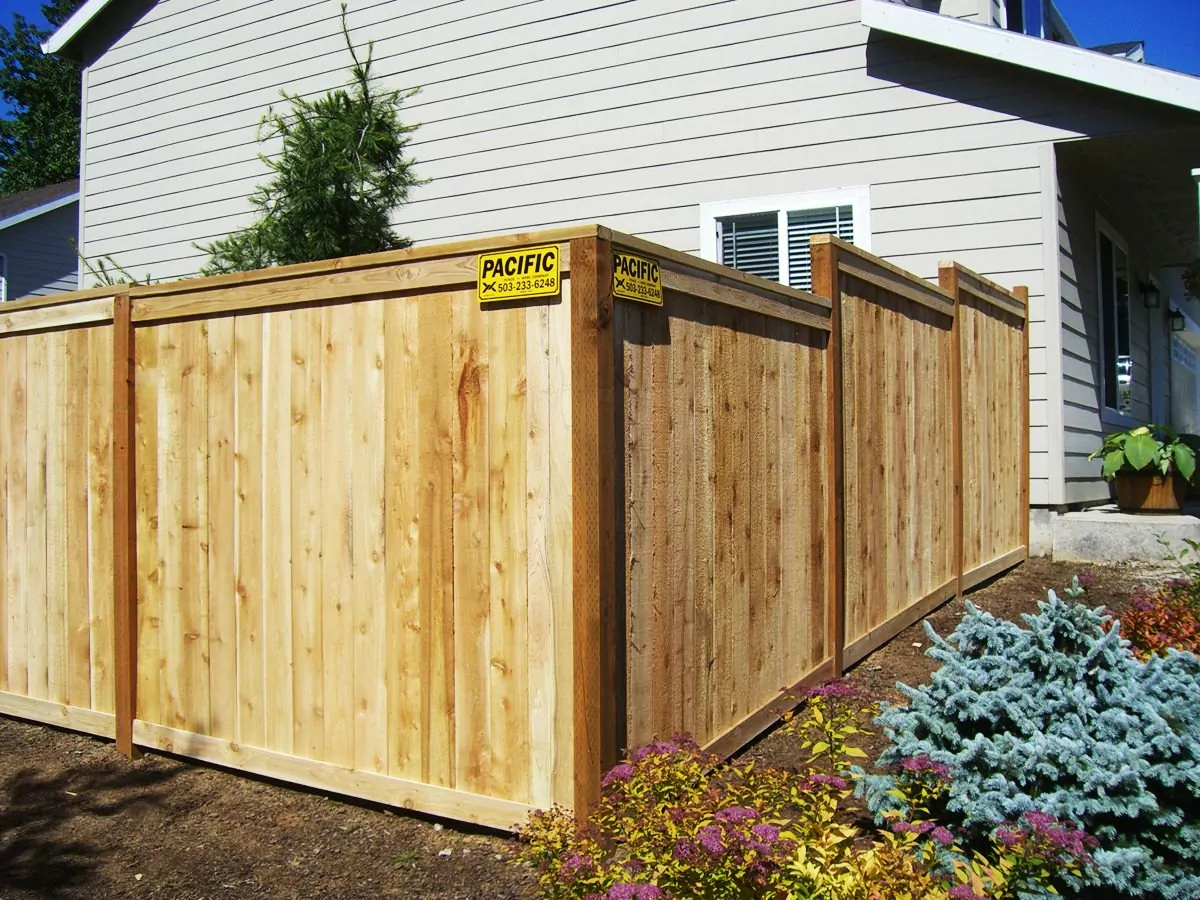
If you are looking to prolong the life of your fence, installing a rot board is a must-do. Debris, dirt, grass, rodents, and other outside elements could cause damage to the fence – especially at the bottom of the fence where it is exposed.
What is a rot board?
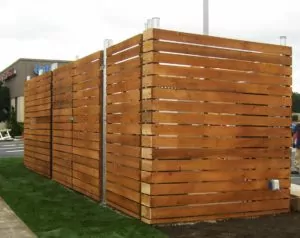
A rot board is a pressure-treated piece of lumber that is installed horizontally along the bottom part of your fence. It can be placed inside or outside of the fence. Its purpose is simple: it helps protect the bottom of the wood fence from the true four-season weather we get in the Pacific Northwest.
It is best to install a rot board when the fence is initially installed. But, if you don’t have one and are looking to add one now, it’s okay to add one at any time. Make sure to clear away any dirt or debris that is currently resting on the bottom of the fence posts, fence pickets (boards), and other parts of the fence that are coming into ground contact.
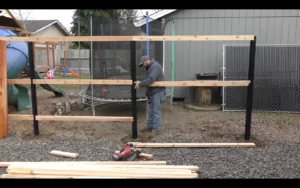
#1: Gather supplies
Count how many boards you will need in each section, post to post. Rot boards are constructed from two by six boards. Most of the time, fences have 8-foot spaces from center post to center post, so you’ll want to make sure you have that distance covered.
Make sure you do your calculations correctly, so you don’t have to stop midway in the project and go get more boards. In addition to the lumber, you will need to gather a pencil, deck screws, level, measuring tape, safety equipment for your hands and eyes, and a circular saw.
#2: Measure and attach
To cut your lumber correctly, measure the outside end of the first post to the front and center of the next post. With a pencil, transfer this measurement to one of the longer boards on your fence, then cut to size with the saw.
Next, set the board’s narrow edge on the ground and ensure the wider side is against the front of the end post. Adjust it so it is flush with the outside of the end post. Use a level to make sure it’s straight. Once it’s level, attach the board with deck screws through the face of the board into each post.
Continue this process until you get to the corner post, making sure everything is flush. Preparation and proper installation will go a long way to making sure you get the most out of your fence. Rot board is just one way to protect your fence.
Annual maintenance will also help keep your fence strong as well as keep it looking great. Cedar boards actually look better after a little weathering, but removing algae and moss will keep your pickets strong. A little pressure washing can help extend the life of your fence as well.
Do you want to learn more about how to get your rot board installed or other maintenance tips? Perhaps you’re interested in getting your fence replaced or repaired this spring. Contact our experienced team at Pacific Fence & Wire!